
PodQuery MCP
T1D Clinical Audit Tool for Claude Desktop
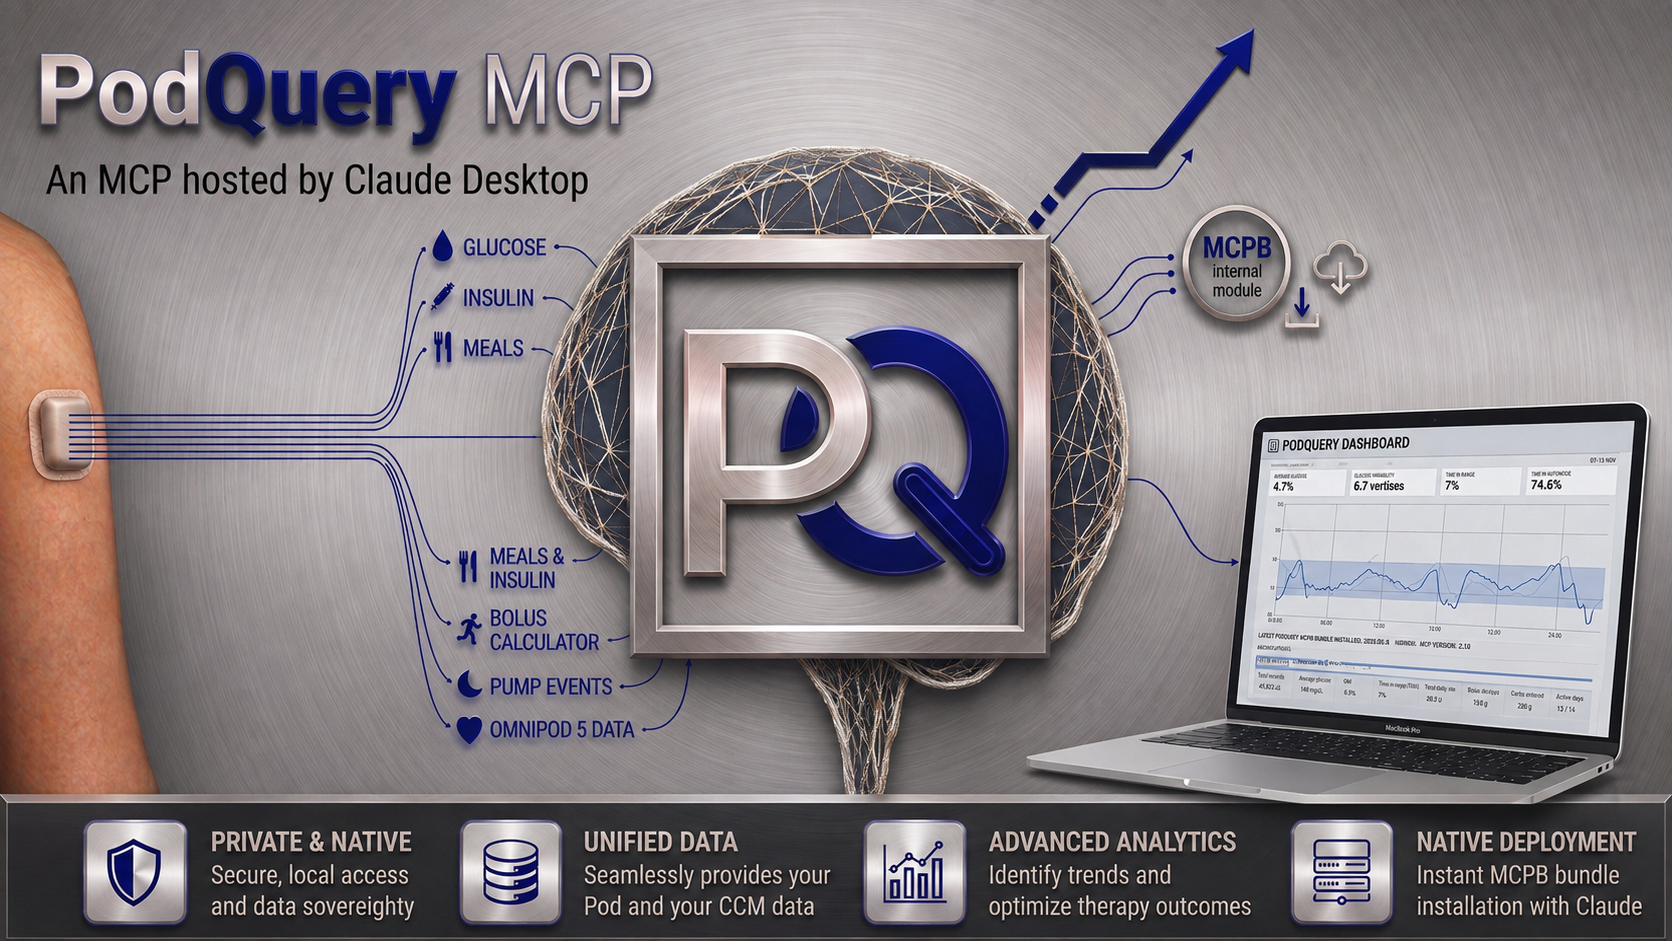




PodQuery — Clinical Audit Tool for Claude Desktop
Connect your Glooko / Omnipod 5 diabetes data directly to Claude, and let it do the analysis.
[!IMPORTANT] Not medical advice. This tool is for understanding your data and helping you ask better questions of your diabetes care team. It is not a medical device and must never be used to make changes to your therapy. See the full disclaimer.
[!NOTE] This is the MCPB (MCP Bundle) edition, built exclusively for Claude Desktop. It replaces the earlier Docker-based version of this project (which also supported Open WebUI and a raw web API) with a single
.mcpbfile you install with one click: no Docker, no terminal, no editing config files by hand. If you need the multi-platform Docker version instead, see the original web app or an earlier tag of this repository.
[!NOTE] Early proof-of-concept (v0.2.1). PodQuery is under active development. The core tools and data pipeline are working end to end (this is my own real data behind the bundled sample set), but interfaces, defaults, and tool behaviour may still change between releases. Feedback and issues are very welcome.
[!TIP] Allergic to instructions? Let an AI do the talking. 🤖 Paste this conversational setup prompt into any AI assistant and it'll walk you through installing and configuring the extension at your own pace.
📖 Table of Contents
- What is PodQuery?
- Who This Is For
- Privacy & Security
- The "Tough Love" AI Persona
- Installing the Extension
- Configuring Your Settings
- Using It
- Switching from the Sample Data to Your Own
- Troubleshooting
- Get in Touch
- Tool Reference
- How the Code is Organised
- Building the .mcpb Yourself
- License
- Disclaimer
🌟 What is PodQuery?
PodQuery is a bridge between your diabetes data and Claude. It packages as an MCPB (MCP Bundle) — Claude Desktop's one-click local extension format — so installing it is a single double-click, and there is no separate server, container, or config file for you to manage. No copying and pasting data between a website and an AI, and no API costs.
You simply talk to Claude. Ask a question in plain language, and Claude reaches into your data through the tools this extension provides, pulls exactly what it needs, and analyses it for you, all within the conversation.
You ask things like:
- "How was my time in range last month?"
- "Why do I keep going high in the evenings?"
- "Show me my worst day and tell me what happened."
🚀 What does it actually do?
PodQuery exposes your diabetes history as a set of analytical tools Claude can call:
- Summaries and trends: time in range, GMI, variability, best and worst days and hours, basal/bolus balance, over any period you ask about.
- High-fidelity CGM data: every 5-minute reading is captured, so no spike or dip is missed, but Claude is guided to pull aggregates first and only fetch raw readings when it genuinely needs them.
- Ready-made visual charts: a clinical-report-style glucose chart, opened directly in your browser, with hoverable bolus markers and a per-day breakdown, not just numbers in a table.
- Enriched bolus analysis: each bolus is matched with the glucose at the time and the pump settings (ISF, carb ratio, target) that were active, so Claude can judge whether a dose made sense.
- Omnipod 5 behaviour: when the algorithm was suspending, running at max, or running blind after losing signal.
Claude does all of this itself, live, by calling these tools while it talks to you.
The "Aha!" Moment
This project started with a personal frustration. While trying to integrate my diabetes data into a Home Assistant dashboard, I discovered that the wealth of historical data stored in Glooko (especially from the Omnipod 5) is a goldmine. I realised that if I gave that data to an AI assistant and let it query the data directly, it could uncover patterns that months of manual logging never showed.
Why I Built This
I built this to put the power back into the hands of the patient. We often only get 15 minutes with a consultant every few months. This tool lets you:
- Be Proactive: spot trends before your next appointment.
- Be Private: your data and credentials stay on your own machine.
- Be Instant: one click to install, no infrastructure to run.
👤 Who This Is For
This project is built for people who use the Omnipod 5 hybrid closed-loop insulin delivery system and sync their data to Glooko. If that is not you, you can still explore the project using the three months of built-in sample data (my data) — no Omnipod 5 or Glooko account required for that path.
Prerequisites
- Claude Desktop — free download from claude.ai/download. This extension only runs inside Claude Desktop (macOS or Windows); it is not a standalone server and does not work with Claude on web or mobile.
- To analyse your own data: an Omnipod 5 and a Glooko account with it synced. Not required to try the tool with the sample dataset.
Nothing else. No Docker, no Node.js install, no terminal.
🔒 Privacy & Security: Your Data, Your Control
Because this involves sensitive medical credentials and data, it is designed with a "local-first" architecture.
- No Middle Man: your Glooko username and password never leave your machine. They are sent directly from this extension to Glooko's servers. No third-party server, and not Anthropic, ever sees them.
- It runs on your computer: the extension process, the local database, and the analysis tools all run inside Claude Desktop, entirely on your machine.
- Your credentials are stored by Claude Desktop's own secure settings storage (the password field is marked sensitive in the extension's configuration), not in a plain-text file.
[!IMPORTANT] Because you're talking to Claude (a cloud AI) about this data, most providers have a setting that allows them to "train" on your conversations. Before discussing your clinical data, consider turning off chat history / model training in Claude's privacy settings, so your medical history stays private.
[!TIP] Want to try it before connecting your own account? This extension ships with a small built-in sample database of real data (three months, mine) so you can explore everything offline, with no Glooko login and no network access at all, from the moment you install it.
🧐 The "Tough Love" AI Persona
The tool ships with a built-in AI persona: a "Tough Love" Endocrinologist.
Managing Type 1 Diabetes is hard, and placating a user doesn't improve Time in Range. The persona is direct, analytical, and uncompromising. It won't sugar-coat the data; it will tell you where your bolus timing is off, where you are over-correcting, or where your basal is failing to catch a drift. It is also built to work efficiently, pulling summaries first and only drilling into granular data when it needs to.
Once installed, this persona is available as a selectable prompt called "Clinical auditor persona" in Claude's prompt/attachment menu. Selecting it is what turns Claude into the endocrinologist.
Its directness is a deliberate style, not authority. Everything it says is to help you understand what is happening and ask better questions of your diabetes care team. It does not, and should not, tell you to change settings such as your DIA or carb ratios. Any change to your therapy is a conversation for you and your healthcare professional.
🛠️ Installing the Extension
- Download the
.mcpbfile from this repository's Releases page (or build it yourself — see Building the .mcpb Yourself). - Install it, using any of these (all equivalent):
- Double-click the downloaded
.mcpbfile. - Drag and drop the
.mcpbfile into the Claude Desktop window. - In Claude Desktop: Settings → Extensions → Advanced settings → Install Extension…, then select the
.mcpbfile.
- Double-click the downloaded
- Claude Desktop shows an install screen listing what the extension can do and the permissions it needs. Review it, then confirm.
- You'll land on the extension's settings screen next — see Configuring Your Settings below. You can also always get back here later from Settings → Extensions → PodQuery.
That's it — there is no separate build step, no container to start, and nothing to keep running in a terminal. Claude Desktop starts the extension's process on demand and stops it when it's not needed.
[!NOTE] Exact menu wording in Claude Desktop can change between versions. If something doesn't match exactly, look for the nearest equivalent (an "Extensions" or "Connectors" area in Settings is the right place either way).
⚙️ Configuring Your Settings
Claude Desktop generates a settings form for this extension automatically — there is no .env file to create or edit by hand. Most fields arrive pre-filled with sensible defaults and marked required, so the form can't be saved empty; you can accept the defaults as-is and start using the extension immediately against the bundled sample data, or adjust any of them to match your own setup. Only the Glooko email and password are optional — leave both blank to stay in offline sample-data mode.
| Setting | What it does |
|---|---|
| Glooko email / Glooko password | Your Glooko login. The only two optional fields. Leave both blank to run in offline mode against the built-in 3-month sample dataset — no account needed, and Glooko is never contacted. Fill both in to download and keep your own data up to date. The password field is masked and stored securely by Claude Desktop. |
| Glooko account's glucose unit | The unit your Glooko account delivers data in (mmol or mgdl, often mgdl for US accounts). Defaults to mmol. Only matters once you've set a Glooko login above — getting it wrong corrupts stored data. This is separate from the display unit below. |
| Display unit | How you want to see glucose: mmol (mmol/L) or mgdl (mg/dL). Defaults to mmol. Independent from the Glooko account unit above — e.g. a US user on a mgdl Glooko account can still choose to view everything in mmol. |
| Low (hypo) boundary / High (hyper) boundary | Your target range, in the display unit above. Defaults to 3.9 / 10.0, which are mmol/L values. Every tool uses these by default; you (or Claude) can still ask about a different one-off threshold without changing this. |
| History to load on first run | Only used once a Glooko login is set (ignored in sample-data mode). Defaults to 2025-01-01. Set this to the earliest date you have Omnipod data, or simply the earliest date you want visibility into — that's how far back the first sync will download. |
| Data folder | Where the extension keeps its local database of downloaded data. Defaults to your Documents folder (a small PodQuery subfolder is created automatically inside it). This stays on your machine and survives extension updates. |
[!WARNING] If you set Display unit to
mgdl, update the Low/High boundaries too. They default to3.9/10.0, which are mmol/L values, and are not automatically converted when you switch units. For mg/dL, the equivalent target range is typically around70/180— adjust to whatever your care team has set for you.
Trying it with the sample data (no Glooko account)
Just leave the Glooko email and password blank and save; the rest of the fields can stay on their defaults. The extension serves the built-in 3-month sample database (the author's own real data, shared on purpose) and never contacts Glooko or the network.
Using your own Glooko data
Fill in your Glooko email and password, set the Glooko account's glucose unit to match your actual Glooko account, and set your preferred display unit and target range. Your first question afterwards triggers a one-time download of your history (a few seconds to about a minute depending on how far back you asked it to go); after that, data is stored locally and answers are fast.
💬 Using It
Start a chat in Claude Desktop.
Make sure the PodQuery extension/connector is enabled for the conversation (Claude Desktop surfaces installed extensions in its tools/connector picker).
From the prompt menu, select the "Clinical auditor persona" prompt for the full tough-love audit experience — or just ask a question directly; the tools work either way.
Ask away. A good first question:
"Tell me about my diabetes data."
Claude pulls the data and gives its interpretation. You can then discuss the findings, ask follow-ups, drill into a specific day or excursion, or ask for a chart — PodQuery opens a real, interactive glucose chart directly in your browser rather than just describing numbers.
🔁 Switching from the Sample Data to Your Own
If you started with the sample data and now want to connect your real Glooko account:
- Open Settings → Extensions → PodQuery.
- Fill in your Glooko email and Glooko password, and set the other fields to match you (see Configuring Your Settings).
- Delete the existing database so the sample data isn't mixed with yours: open the Data folder you configured (or its default, your Documents folder) and delete the
PodQuerysubfolder inside it. - Ask a question. The extension downloads your own history into a fresh archive on that first query.
🛠️ Troubleshooting
[!NOTE] This section will grow over time. If you hit something not covered here, please open an issue and I'll help.
The extension's tools don't show up in a chat. Check that the PodQuery extension is enabled for the current conversation in Claude Desktop's tools/connector picker, and that it's still enabled in Settings → Extensions.
I asked about a date and got nothing back.
If you're running against the sample data (Glooko fields left blank), only its date range is available. Ask Claude what date range it holds first, or ask for get_diabetes_summary over a very wide window and read reportRange.
Claude seems to be running old behaviour after I updated the extension.
Reinstall the newer .mcpb (Claude Desktop will offer to update in place); if a stale answer persists, start a fresh conversation so tool descriptions are re-read.
The extension won't start / shows an error. Open Settings → Extensions → PodQuery and check the configured Glooko credentials are correct (or both blank for offline mode), and that the configured Data folder is a location Claude Desktop can write to.
Wrong-looking glucose numbers after connecting my own account. Double-check "Glooko account's glucose unit" matches what your actual Glooko account is set to, not what you'd prefer to see (that's the separate "Display unit" field). A mismatch here corrupts how incoming readings are interpreted; if you already have data ingested under the wrong setting, clear the database (see Switching from the Sample Data to Your Own) and let it redownload correctly.
My Low/High boundaries look wrong after switching to mg/dL. The Low/High boundary fields don't auto-convert when you change Display unit — see the warning in Configuring Your Settings. Update them by hand to match your unit.
A chart didn't open in my browser. PodQuery tries to auto-open the chart file in your OS's default browser; if that fails (no recognised default-browser command on your machine), Claude will tell you the file path instead — open it manually. This is rare and typically only affects unusual system configurations.
📬 Get in Touch
Whether you're stuck on install or want to share how the audit improved your Time in Range, I'm happy to help.
Technical Help
If something isn't working, please Open an Issue so others can benefit from the solution too.
Personal & Professional

[!NOTE] Privacy Reminder: if you send me a screenshot for support, please blur out any private medical information or Glooko credentials first.
🔌 Tool Reference
These are the MCP tools this extension registers with Claude. You never call them directly — Claude calls them for you while you chat — but this is useful if you want to understand exactly what Claude can (and can't) see, or why it asked a particular follow-up.
A note on timestamps
All timestamps these tools use are plain wall-clock time formatted as ISO 8601, e.g. 2026-01-01T00:00:00.000Z — despite the trailing "Z", these are NOT true UTC. Glooko records only the literal date/time your device displayed at the moment of each reading, with no timezone or offset attached, so a reading is stamped with wherever you physically were when it happened. This means no timezone conversion ever happens in either direction: Claude resolves your relative phrasing ("yesterday", "last 3 weeks") straight into matching wall-clock digits, and presents times in results exactly as returned, unconverted. The one tradeoff: if you travel across time zones, the archive has no record of which zone a given reading belongs to, so there's no way to reliably compute things like "how many hours ago" across a change of zone — the data is still exactly what your device showed, just without an attached zone.
A note on glucose units
Most tools accept optional units, lower, and upper parameters. If Claude omits them, the values you configured in the extension's settings (display unit and target range) are used. Claude only passes them to override the defaults for a single question — for example, to check time below a different threshold without changing your normal target.
Tools
| Tool | Purpose |
|---|---|
get_diabetes_summary |
The best starting point for any overview question. Fixed-size aggregates over any window, so it's cheap even across months or years. A deliberately wide call is also how Claude discovers the full date range your archive holds (reportRange). Returns glucose control (TIR, GMI, CV, stdDev), glucose extremes, best/worst day and hour, insulin, bolus architecture, carbs, and settings in force. |
get_trend |
Splits a span into time buckets (day/week/month/quarter, or fixed-length) and computes each independently from raw readings, for "how have things changed month by month" style questions in one call. |
get_glucose |
Individual timestamped CGM readings for a window, capped to 21 days, optionally filtered to low (hypos), high (hypers), target, or all. |
get_chart_html |
The primary way to see a chart. Builds a full clinical-report-style glucose chart (colour-coded in-range/low/high trace, shaded target band, min/max spread, bolus markers hoverable in their own right, header stats, legend, tooltips), saves it to a file, and opens it directly in your browser. Accepts a ranges array to compare several non-contiguous dates on one chart. Multi-day windows get a Chronological/Overlay toggle and per-day filter chips (with stats that recalculate for whichever days are shown), plus a collapsible "Day details" panel per calendar day carrying that day's full clinical figures with plain-English tooltips. Plots every real reading at native ~5-minute resolution for a typical window (up to about a month); wider windows are lightly thinned by default — flagged via a downsample field in the response — and can be re-requested at full detail with the resolution parameter (1 = every reading, 2 = every other one, and so on). |
get_chart_series |
Glucose downsampled to a target number of points for plotting, with a min/max band per point so spikes aren't lost, plus bolus event markers. Returns raw chart data rather than a rendered page — used when Claude needs to build a custom visualisation itself, rather than the ready-made chart get_chart_html produces. |
get_enriched_bolus_log |
Every bolus in a window (capped to 92 days), enriched with the interpolated CGM value at delivery and the ISF/carb-ratio/target/DIA active at that moment, plus delivered-vs-programmed and calculator overrides. Filterable by bolus class. |
get_hourly_trends |
Time in range and average glucose pooled by clock-hour across a window — useful for the dawn phenomenon, consistent evening highs, and other time-of-day patterns. |
get_basal_delivery |
What the Omnipod 5 algorithm was doing with basal delivery over time, as behavioural states (normal / suspend / max / limited), not units. |
get_daily_insulin |
Glooko's own per-day basal/bolus/total insulin totals, shown verbatim, for a day-by-day table or total-daily-dose figures. |
get_settings_history |
Every Omnipod 5 setting change in force during a window: DIA, max basal rate, and the time-segmented target/ISF/carb-ratio profiles. |
get_device_events |
Pod change and CGM sensor change timestamps — context only, never asserted as a cause of nearby glucose disruption. |
get_meal_window_analysis |
A focused look at one meal or bolus event: 30 minutes before to 3 hours after, with the glucose trace and any boluses in that window. |
There's also one MCP prompt, clinical_auditor ("Clinical auditor persona" in Claude's UI) — see The "Tough Love" AI Persona.
How the code is organised
(For developers reading the source. If you just want to use the tool, you can ignore this.)
The data flows: Glooko → sync → store → range → analytics → tools → Claude.
manifest.json— the MCPB manifest: what Claude Desktop reads to install the extension, what settings it asks the user for, and how it launchessrc/server.js.src/env.js— sanitizes theuser_config-derived environment variables Claude Desktop injects, before anything else reads them. Must be the first import inserver.js; see the file's own header comment for the specific Claude Desktop quirk it works around.src/server.js— the MCP server and the tool definitions (what Claude Desktop launches over stdio). Thin wrappers around the analytics.src/analytics.js— the heart: all the clinical maths and data shaping, written as pure functions.src/chartHtml.js— renders the self-contained HTML pageget_chart_htmlwrites to disk: chart geometry, colour-coding, day segmentation, tooltips, and the Chronological/Overlay toggle all live here.src/store.js— the SQLite archive (normalised rows, not raw Glooko blobs), backed by sql.js — a pure WebAssembly build of SQLite. This was chosen deliberately over Node's built-innode:sqliteor a native addon likebetter-sqlite3: as an MCPB, this server can be launched on macOS or Windows by whatever Node runtime Claude Desktop bundles, with no build step and no way to know its exact version ahead of time. A pure-WASM engine behaves identically everywhere Node runs. The one tradeoff is that sql.js is in-memory only, sostore.jsre-serialises the archive to disk itself after each write batch, rather than relying on SQLite's own file-backed journal.src/paths.js— resolves where the archive lives (the user's configured "Data folder", defaulting to their Documents folder) and seeds the bundled sample database into place on a fresh, offline install.src/range.js— the layer the tools call; answers from the local archive and tops up from Glooko only when needed. Offline mode is gated here.src/sync.js— the engine that pulls Glooko data into the archive (cold start, top-up, startup warm-up).src/glooko.js— the Glooko API client (auth and fetching). Unchanged from the original project — all the Glooko download-and-store functionality remains exactly as before.src/prompt.js— the clinical-auditor persona.
A few invariants hold throughout: glucose is stored internally in one canonical unit (mmol/L) and only converted on output; bolus is summed from individual events while basal comes from Glooko's daily totals; all times are plain wall-clock time, not UTC (see "A note on timestamps" above); and per-day rates use the real observed span of data.
🏗️ Building the .mcpb Yourself
You don't need to do this to use the extension — download the released .mcpb instead. This is for anyone who wants to build from source, audit the code before installing, or make changes.
git clone https://github.com/rilhia/podquery-mcp.git
cd podquery-mcp
npm install --omit=dev          # installs runtime dependencies, including sql.js, into node_modules
npm install -g @anthropic-ai/mcpb
mcpb pack                       # produces podquery-mcp.mcpb in this folder
The repo also ships an .mcpbignore that trims repo-only content (docs, the GitHub README banner, unused sql.js build variants, and similar) from the packed bundle — you shouldn't need to touch it, but it's worth a look if you're curious what mcpb pack includes and why.
Then install the resulting .mcpb file as described in Installing the Extension. See the MCPB specification for how the bundle format works.
📄 License
This project is released under the MIT License — you are free to use, modify, and distribute it, including for commercial purposes, provided the copyright notice and licence text are retained. See the LICENSE file for the full text.
The MIT licence covers the code. The bundled sample database is the author's own data, shared for exploration; please be considerate in how you use it.
Disclaimer
This tool is for informational and educational purposes only. It is not a medical device and is not a substitute for professional medical advice, diagnosis, or treatment. Always seek the advice of your physician or other qualified health provider with any questions regarding a medical condition. Any analysis produced with the help of this tool, including AI-generated suggestions, must be reviewed with a qualified clinical professional before making any changes to your insulin therapy or medical regimen.